By: Mark Johnson @mellowcoder
What is a Texture Atlas
A Texture Atlas is simply a large image file that is created by combining together multiple individual images. This can save memory and allows iOS to more efficiently render the textures in your application. The nice thing about SpriteKit is that Apple takes care of building the texture atlas for you. All you need to do is add the individual image files and the textures will be generated when your app is built.
The following is an excerpt from the SpriteKit Guide on when to use Texture Atlases
When you create a texture atlas, you want to strike a balance between collecting too many textures or too few. If you use too few images, Sprite Kit may still need many drawing passes to render a frame. If you include too many images, then large amounts of texture data may need to be loaded into memory at once. Because Xcode builds the atlases for you, you can switch between different atlas configurations with relative ease. So experiment with different configurations of your texture atlases and choose the combination that gives you the best performance.
Starting Point
As in my previous posts on working with images in SpriteKit, I am going to start off with a new App generated with the SpriteKit template. After creating the new App, I deleted the boilerplate touchesBegan method as well as the code in the initWithSize method that adds the label.
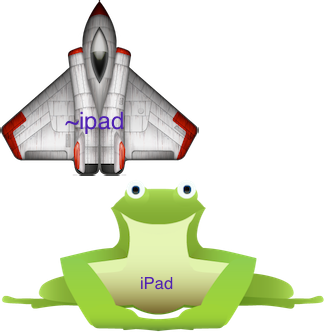
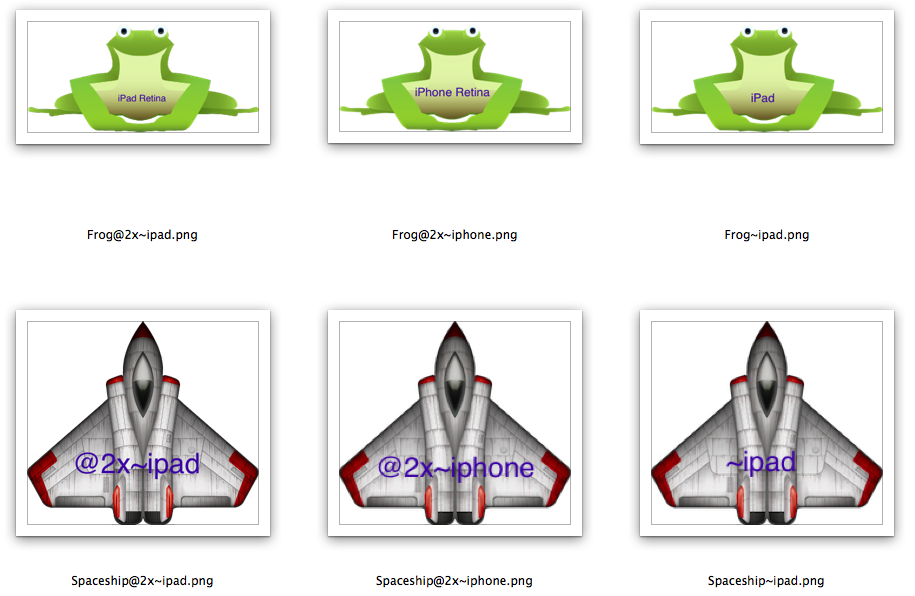
For this test app I have a couple of different images (a frog and a spaceship) in three different sizes. I have also added a label on each of the images so I am sure which image is actually being rendered in each of the different simulators.
Adding a Texture Atlas
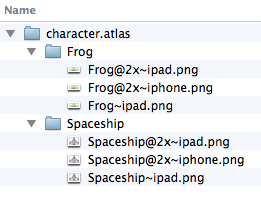
All you need to do to create a texture atlas is create a folder in your project with “.atlas” at the end of the name. You can manually create this folder within the project or you can create the folder in the finder with all your images organized within it and then add the folder to your project. For this app I setup my folder in the finder. Within the .atlas folder you can use subfolders to organize your files. The following screenshot shows the folder I have setup for this example.
Once you have added the atlas to your project you will then add/remove images as needed from the finder. Changes to the content of the atlas are not handled within the project editor.
Using a Texture Atlas in SpriteKit
To use images from the atlas in your project you first need to instantiate the atlas. For example the following initializes the character atlas and then loads the individual images into sprite nodes.
SKTextureAtlas *character = [SKTextureAtlas atlasNamed:@”character”];
SKSpriteNode *frog = [SKSpriteNode spriteNodeWithTexture:[character textureNamed:@”Frog”]];
frog.anchorPoint = CGPointMake(0.5,0.0);
frog.position = CGPointMake(CGRectGetMidX(self.frame), self.frame.size.height*0.25);
[self addChild:frog];
SKSpriteNode *ship = [SKSpriteNode spriteNodeWithTexture:[character textureNamed:@”Spaceship”]];
ship.anchorPoint = CGPointMake(0.5,1.0);
ship.position = CGPointMake(CGRectGetMidX(self.frame), self.frame.size.height*0.75);
[self addChild:ship];
Supporting multiple devices
As you may have noticed in the file list above I have used the standard naming convention to differentiate the images for each device. When you build your project it will create a texture map for each device based on the file naming convention. You can see this by locating the built application in finder. If you select the product in the Navigator in Xcode you can find the location of the actual files.

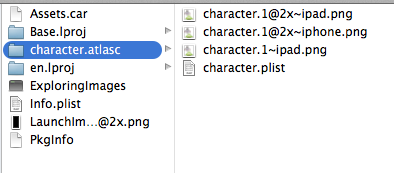
If you then navigate to this location in the finder you can select the actual built app, right click and select the “Show Package Contents” option.

Then selecting the “character.atlasc” folder will show you the actual texture atlases for each of the devices along with the .plist file that is used to mange the files as well as the individual images. The “.1” on the files is a sequence number. If the texture atlas gets too large Xcode will break the atlas into multiple files. If this happens you would see a “.2” or more versions of the texture atlas.
Bug Related to iPad specific Texture Atlas
There is one caveat to this. Even though the “character.1~ipad.png” file is created and it is correctly represented in the “character.plist” when running the app on the non-retina iPad, simulator or device, it always uses a auto scaled down version of the retina images. I have entered a bug report with Apple for this and will update this post when I get an update on this issue.