Anyone who has spent any time studying art quickly learns one inevitable truth about the profession. You never, ever, stop practicing, learning and improving. From the tiny baby pasting their first piece of colored macaroni onto construction paper, to the master painter who has been practicing daily his whole life.
So you keep working, and keep working and hope that you are improving. You finish a piece and look at it… and you hate it. A few days later you come back to it and decide it’s the best piece you’ve ever done. 6 months later, it’s still not bad, but now you can see all the flaws you didn’t spend enough time working on. And so the process goes. But as your observing, studying and learning from others it’s helpful to take a step back, pick a few techniques and work on applying them to your next piece.
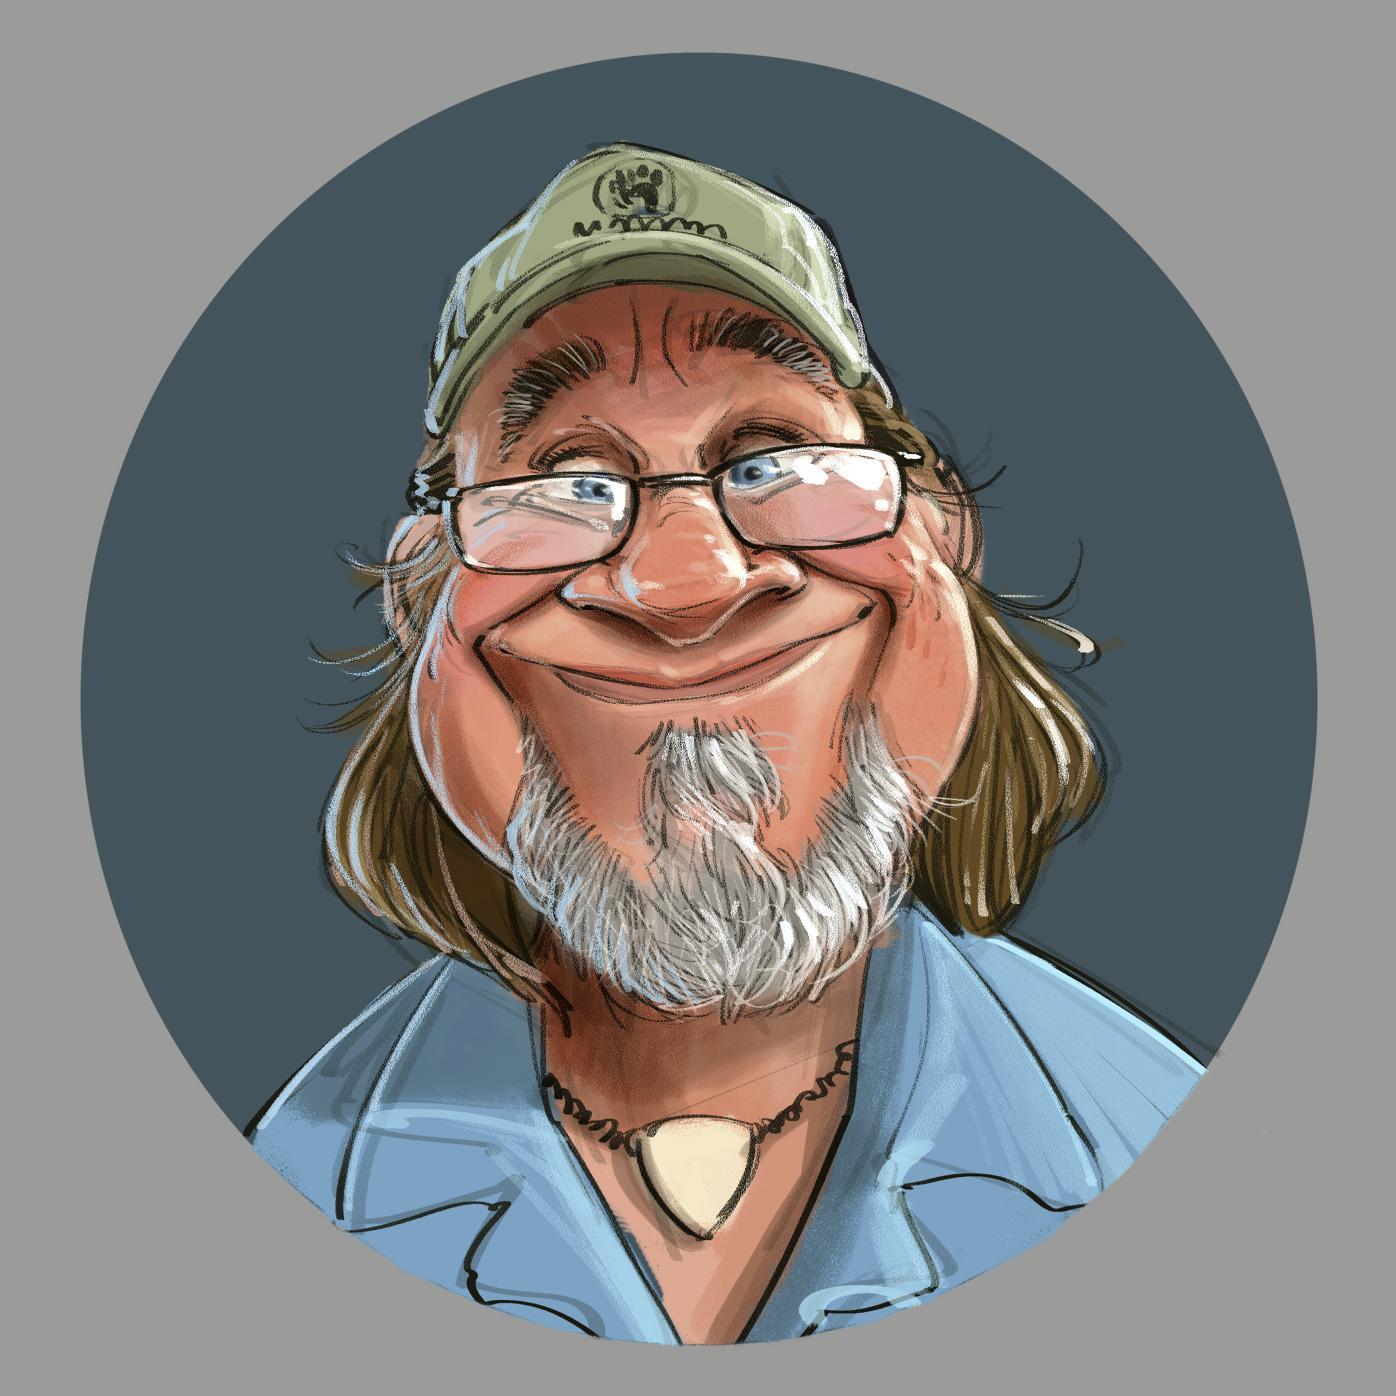
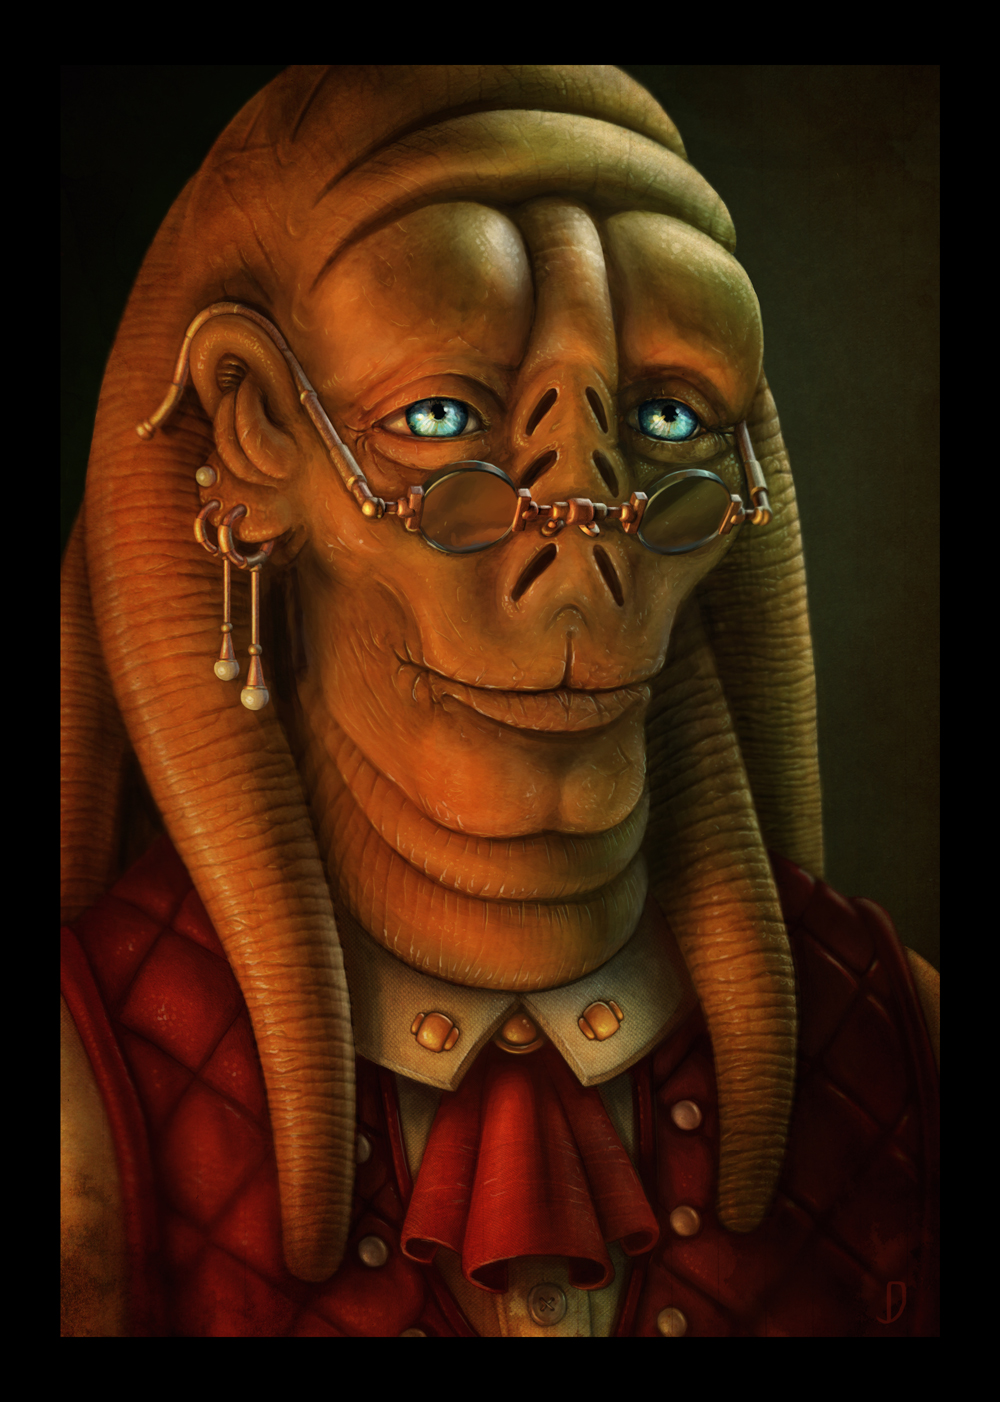
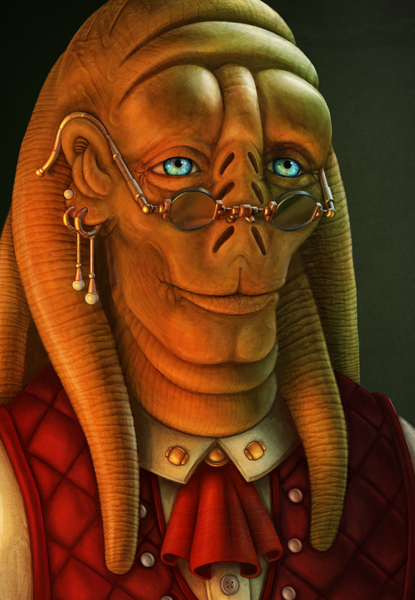
For this piece, “Reassuring Smile” I decided to apply some methods from one of my favorite artists, James Gurney. As well as some new techniques I’ve been learning from Aaron Blaise’s tutorials.
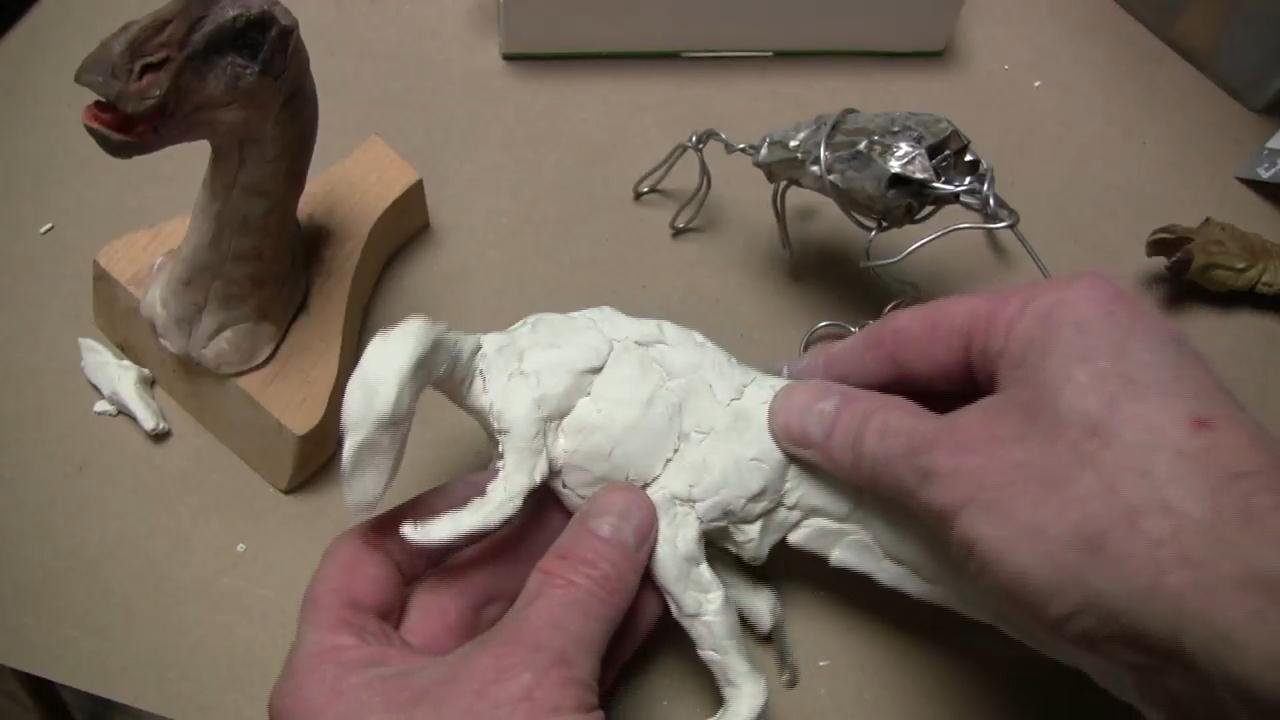
Specifically I’m applying James Gurney’s method of creating a simple model for reference, and lighting it to fit the scene your working on. I’m also using a palette I developed digitally based on his oil painting pallet techniques laid out in his book “Color and Light.” Which I highly suggest to painters just starting out.
As it turned out, my process is already very similar to Aaron Blaise’s. But I wanted to try out using some of his photographic texturing techniques and applying just a little bit of depth of field to give the piece a more photographic feel.
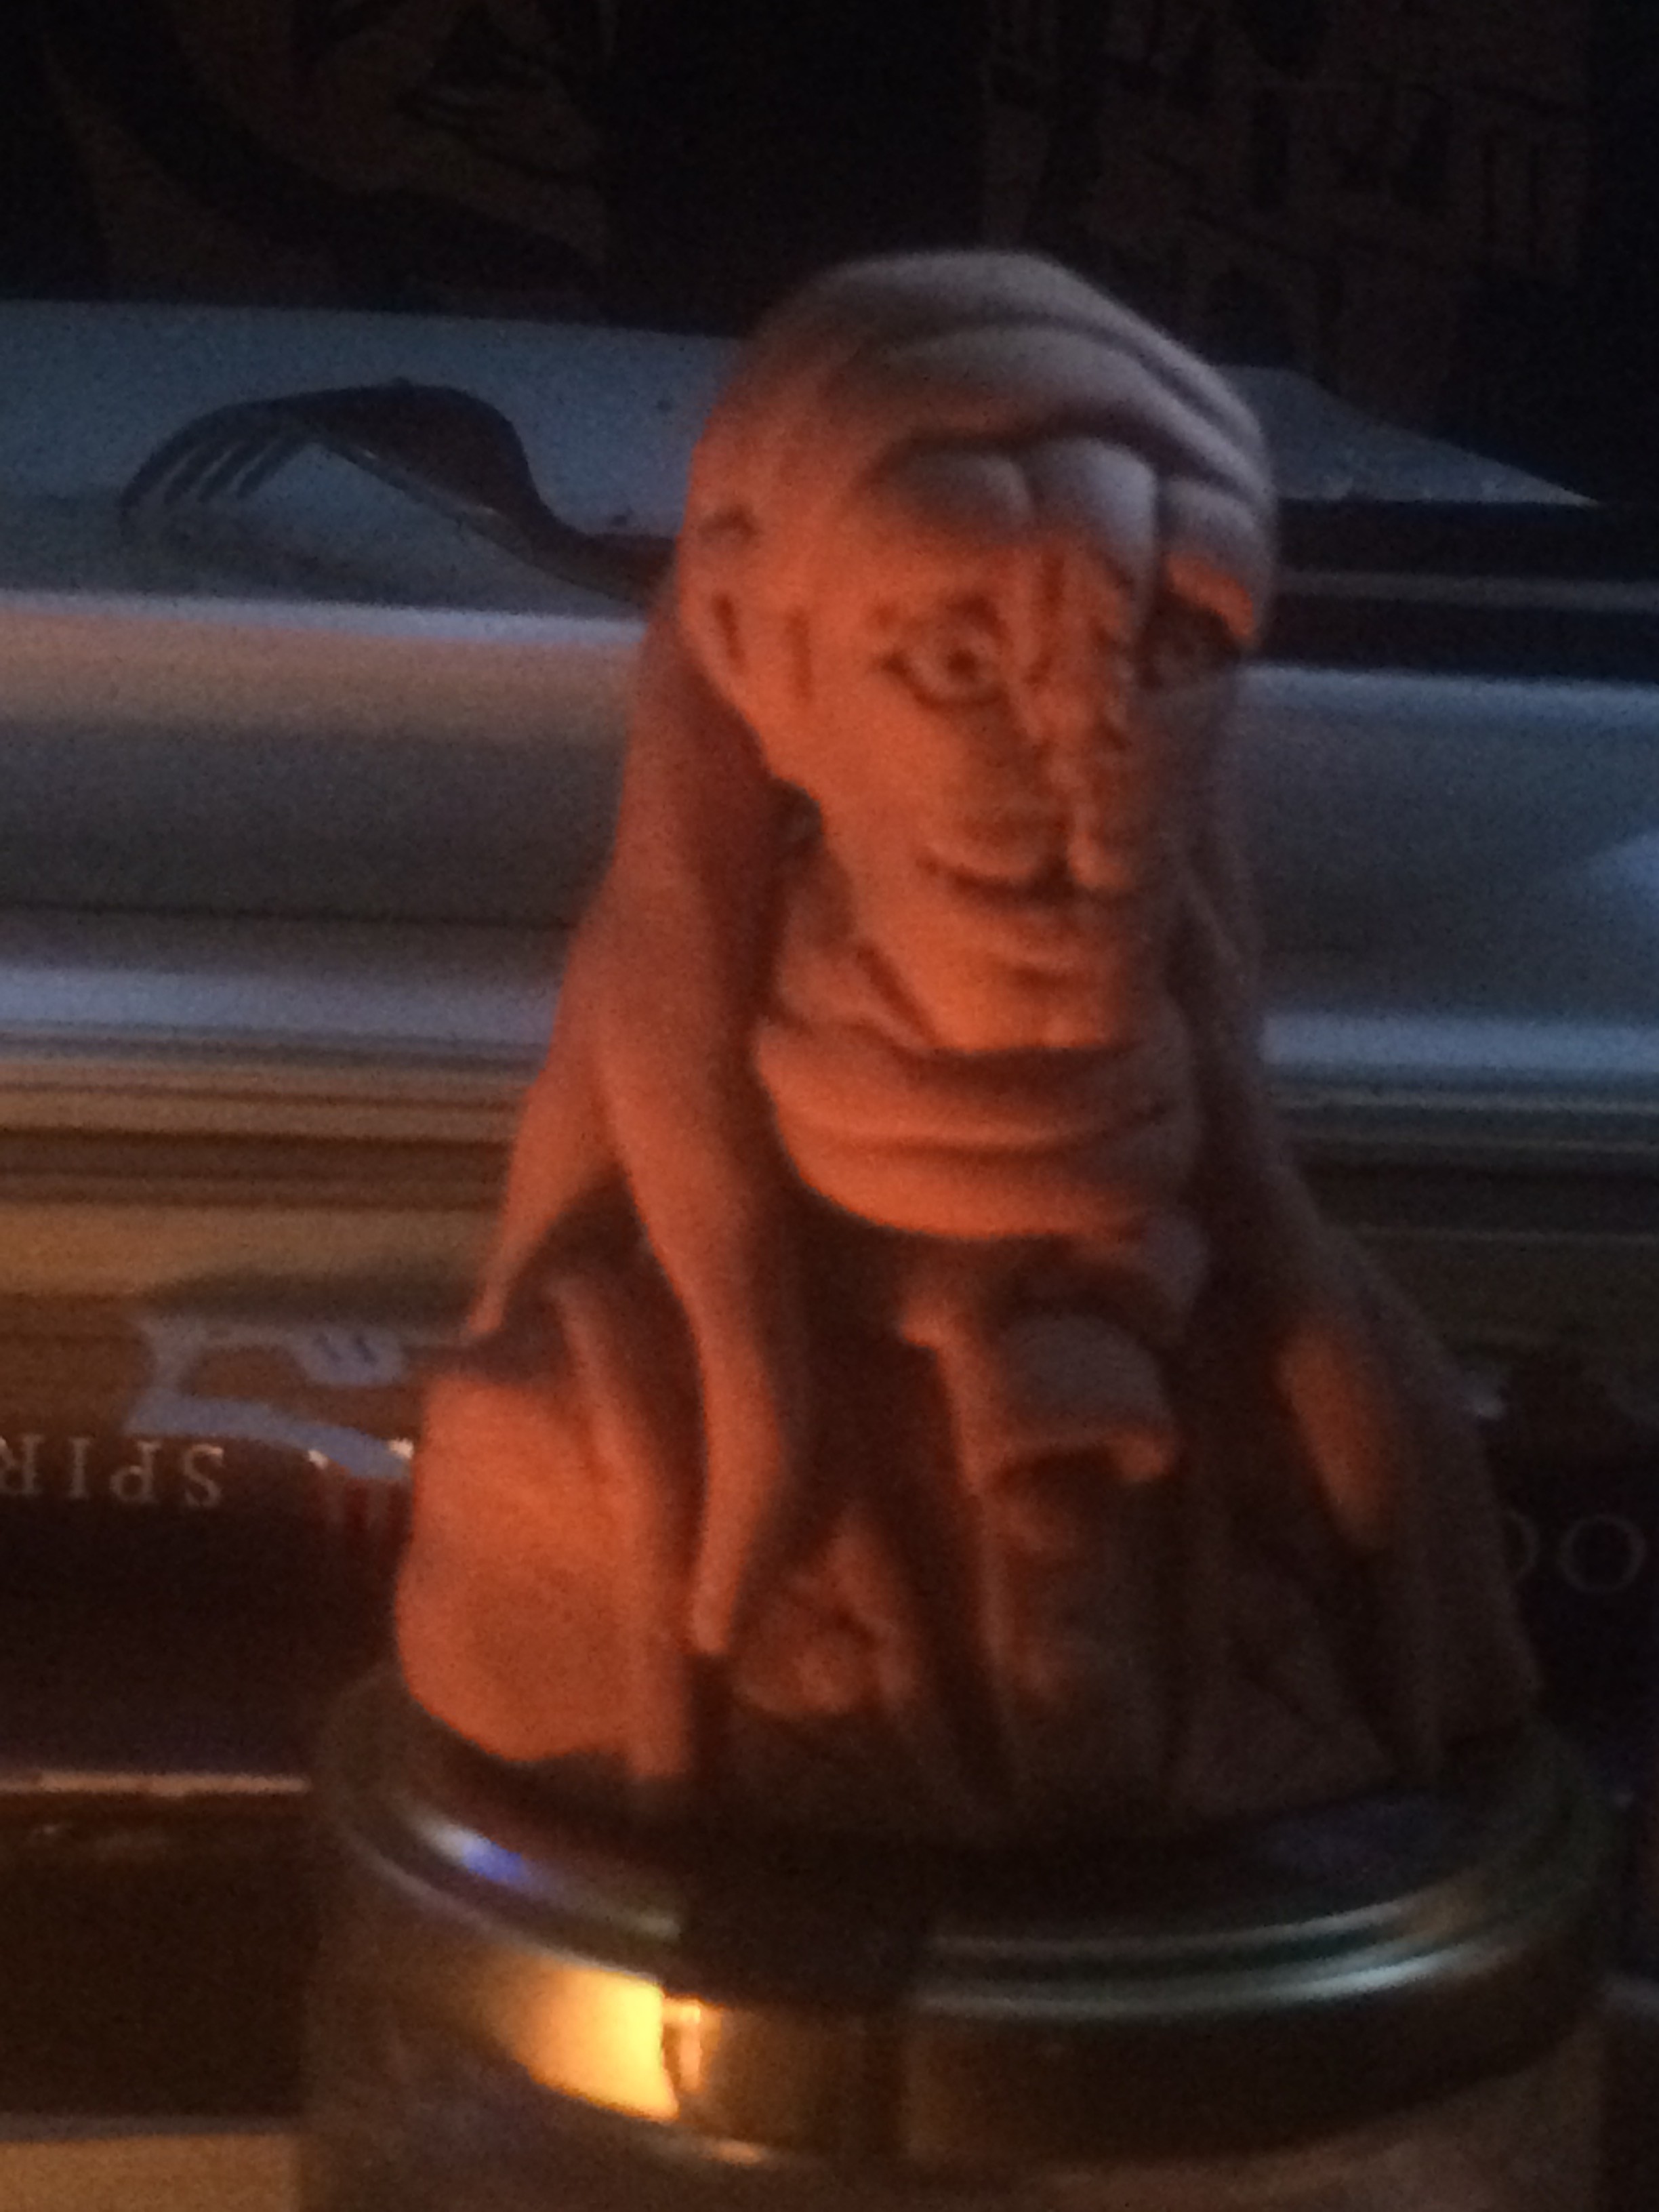
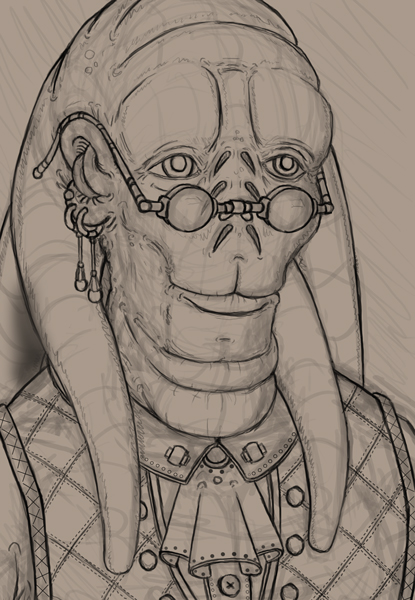
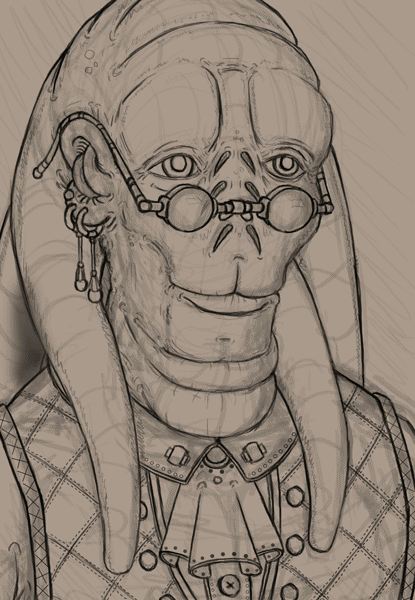
I build out my model, and I cross light it with a candle from the bottom left and a blue light from the top right to give it the feel of fire in the room and moon light coming through a window. I work on the sketch and model at the same time, trying to get my model to have the major parts defined but not worrying to much about the little details.
After I lay in my flats and build out the basic color and lighting I’m ready to start detailing and blending. I tend to get all my color laid in from my pallet and then pick the color from the image to paint in the final strokes.
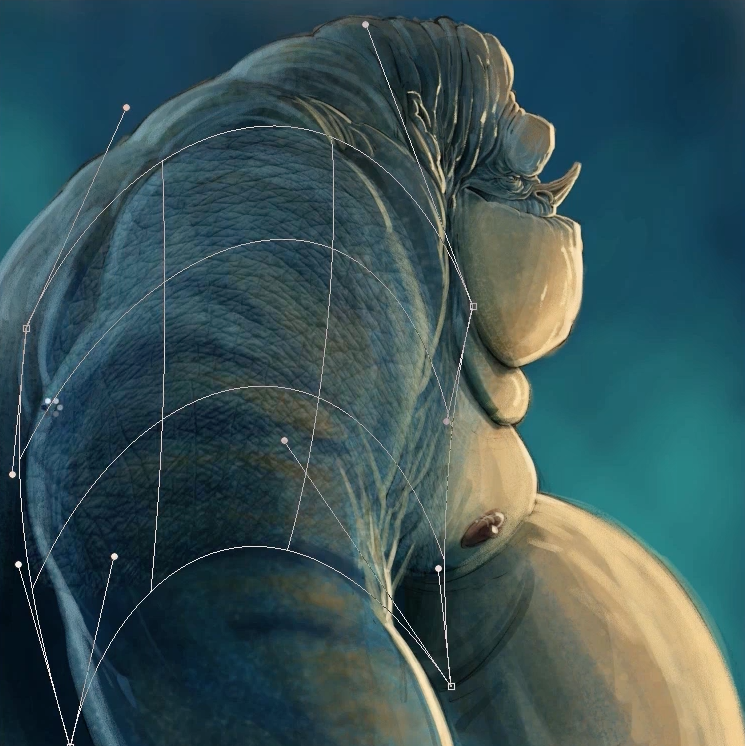
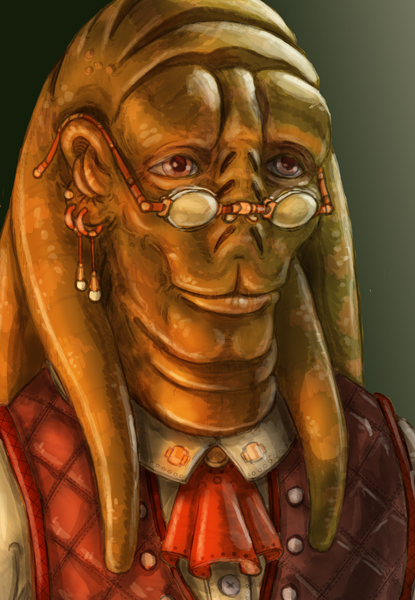
I get everything cleaned up and it’s time to apply Aaron’s photographic texturing technique
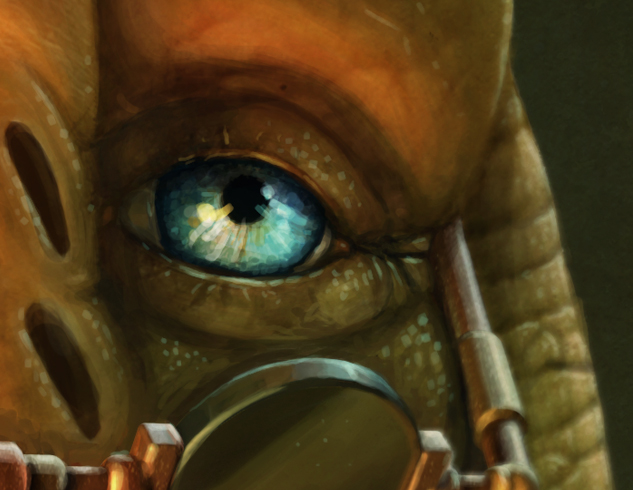
With all the textures laid in and quite a few clean ups and shifts to improve the image. now it’s time for some final shadows and highlights.
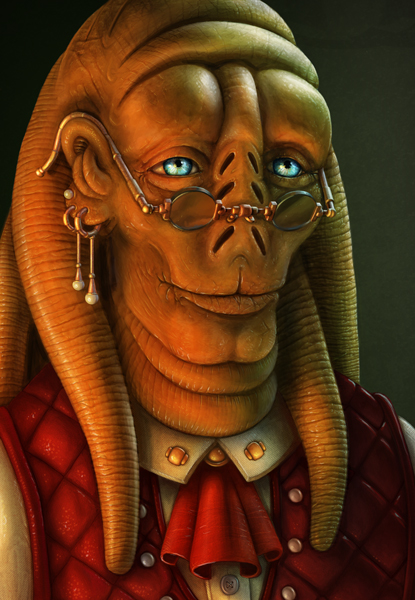
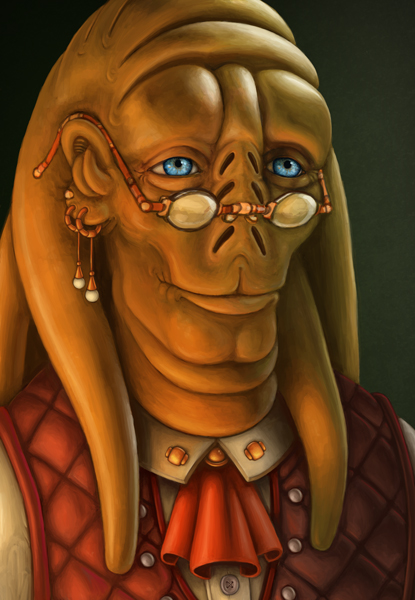
Finally I use a bit of a grunge texture to create a vignette to the over all feeling of the image as well as using the smudge tool with a soft round brush to blur my back edges to add the depth of field.
I was hoping to have an idea of how long total I spent on this but unfortunately I was working on it while moving from Boston to Norther Virginia, so I’ll give you a timeline on the next one I do.
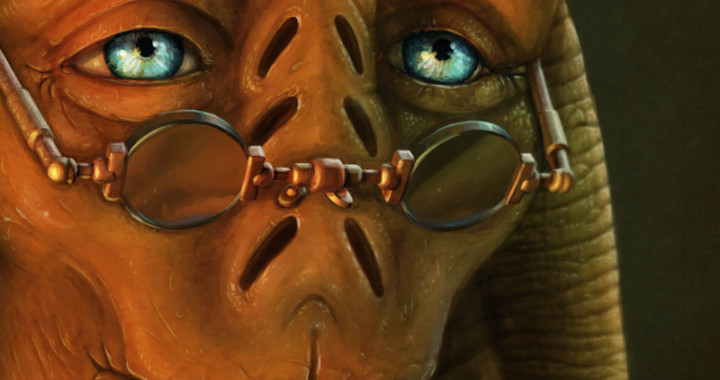
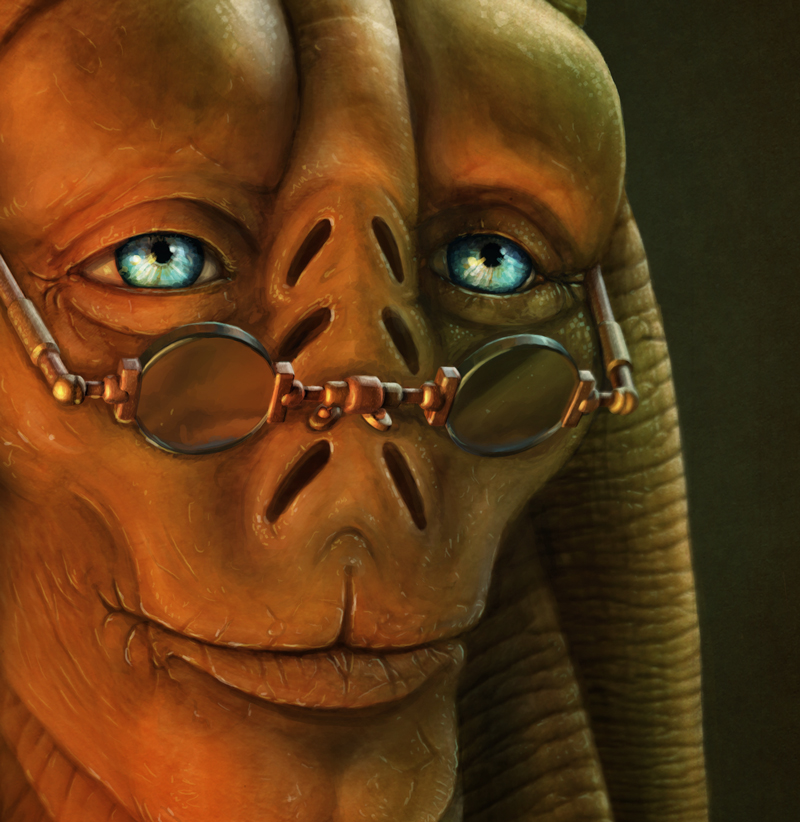
And finally a larger version of the finished Image.